


10 Essential Tips for Using Roast Netting Effectively?
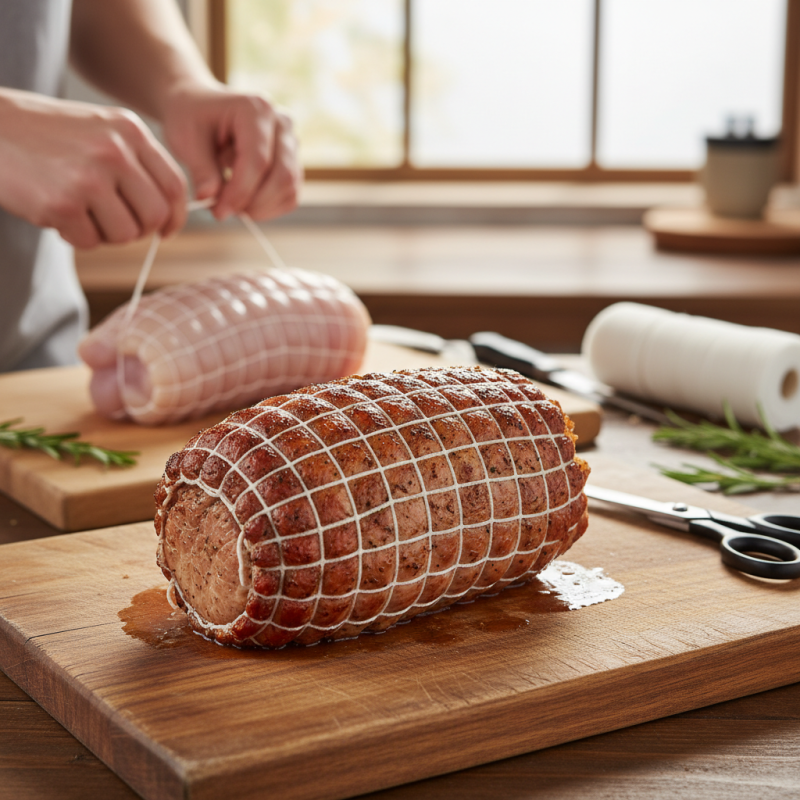
Roast netting is a culinary tool that can elevate your cooking game. It’s not just about wrapping meat; it’s about enhancing flavors and achieving perfect textures. Many home cooks overlook its potential. Using roast netting effectively requires a few essential techniques.
When used correctly, roast netting helps retain moisture. It keeps the meat intact as it cooks, but it can be tricky. If tied too tightly, the meat may dry out. If not secure, it might fall apart when cooked. This balance is crucial for delicious results.
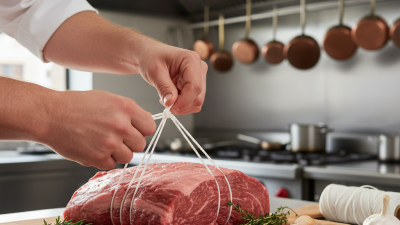
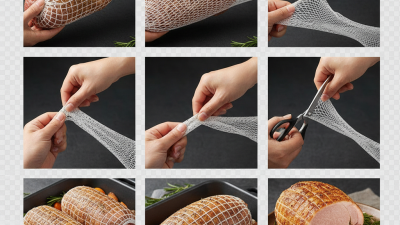
Understanding how to use roast netting can make a significant difference in your dishes. The right approach can turn a simple roast into a feast. However, many struggle with the tying process. It may take time to master, but practice leads to improvement. Embrace the learning curve as you explore the art of roast netting.
Understanding Roast Netting: Purpose and Benefits
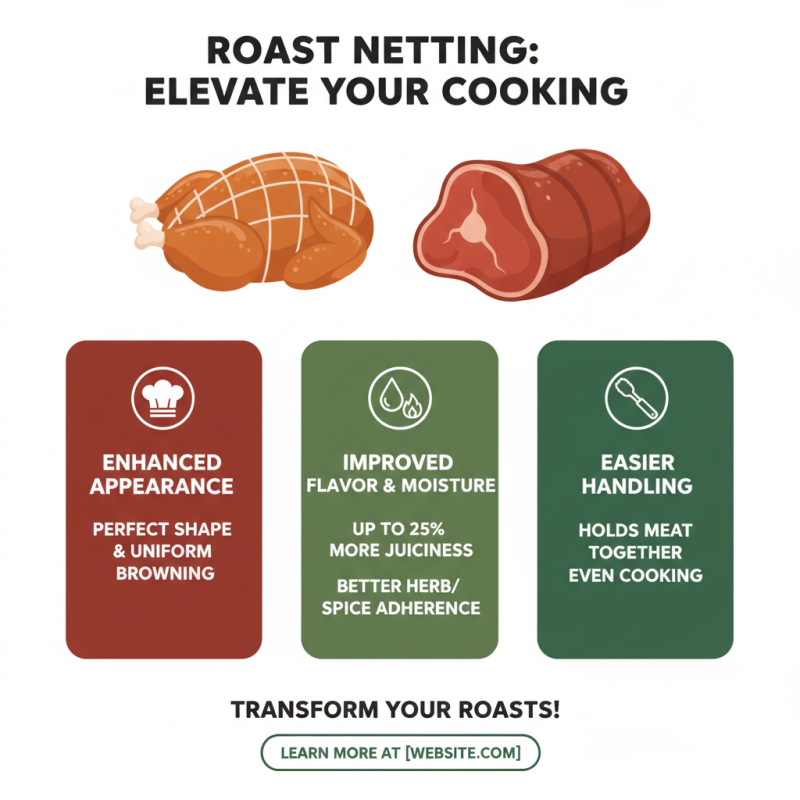
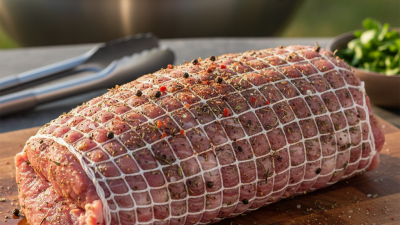
Roast netting serves a crucial role in cooking. It helps to maintain the shape of meat while cooking. This keeps the juices locked inside. The even heat distribution is also beneficial. Without netting, pieces can warp, losing their appealing presentation.
Using roast netting can provide several advantages. It allows for better seasoning penetration. When seasoned well, the flavors are enhanced throughout the meat. Cooking time may reduce since it retains moisture. However, it’s important to ensure that the netting is tight. A loose fit could lead to uneven cooking.
While many chefs embrace roast netting, it’s not without flaws. Sometimes, it can create a mess during the carving process. Removing it can be tricky and time-consuming. It's a learning curve. Experimenting with different meats also yields varied results. Not every cut responds well to netting.
Related Posts
-
How to Use Roast Netting for Perfectly Cooked Meats?
-

How to Choose the Best Fibrous Casing Suppliers for Your Needs?
-
2026 Top Meat Nets Trends and Innovations in the Food Industry?
-
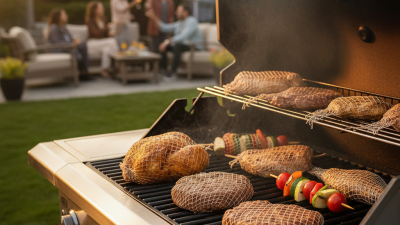
Best Meat Nets for Perfect Grilling Results in Your Backyard
-
How to Use Elastic Meat Netting for Perfectly Wrapped Meats?
-
How to Prepare Delicious Netted Meat for Your Next Barbecue?