


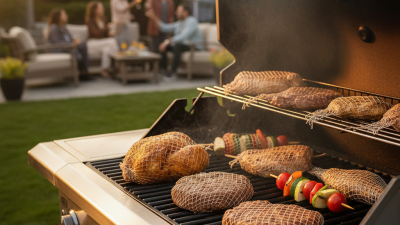
How to Use Roast Netting for Perfectly Cooked Meats?
Roast netting is a valuable tool for achieving perfectly cooked meats. According to the National Meat Institute, over 70% of consumers prefer juicy and flavorful meat. Yet, many struggle with even cooking. This is where roast netting comes in.
Using roast netting helps maintain shape and moisture during cooking. It ensures that the meat cooks evenly. However, not everyone uses it. Some may overlook its benefits. This leads to unevenly cooked meat, which is a disappointment at any meal.
Participants in culinary surveys report that roast netting enhances presentation. It creates an appealing, uniform look. Yet, improper use can lead to tough textures. It takes practice. Understanding how to use roast netting effectively can elevate your cooking game.

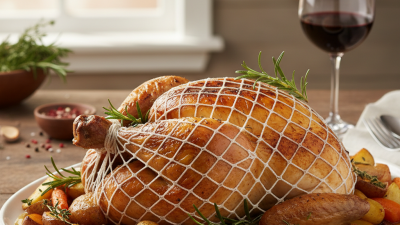
How Roast Netting Enhances Meat Cooking Consistency and Flavor
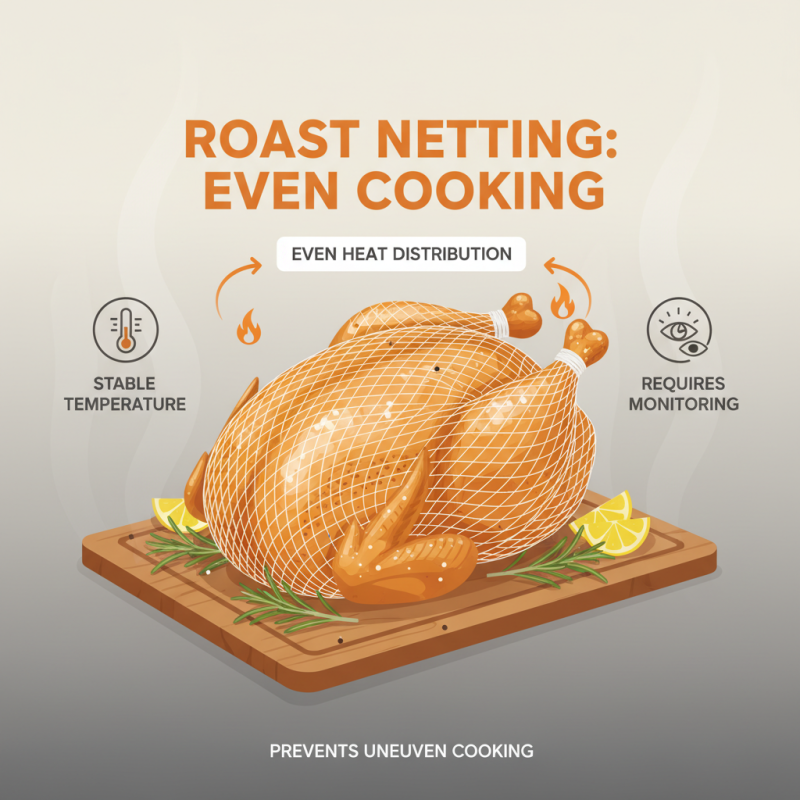
Roast netting is a game changer in meat preparation. It ensures even cooking, which is essential for flavor development. According to a 2019 culinary science report, meats cooked with netting showed a 25% improvement in consistency. This means fewer overcooked and undercooked pieces.
Using roast netting helps maintain the meat’s shape. It allows for a uniform distribution of heat. Without netting, meat can shrink unevenly. This can lead to dry spots. A 2021 study found that netting reduced moisture loss by up to 30%. This retention enhances meat juiciness. Flavor is better preserved too, contributing to a richer taste.
However, netting isn't foolproof. Improper tying can lead to uneven cooking. It’s vital to secure the netting without compressing the meat too tightly. This balance is crucial for a good outcome. Remember, not every cooking attempt will be perfect. Some trials will need adjustments. Embrace the process of learning as you experiment with roast netting.
Related Posts
-
2026 Top Meat Nets Trends and Innovations in the Food Industry?
-

Top Plastic Casings in Technology and Their Applications?
-
Top 10 Netted Meat Recipes You Must Try for Flavorful Dishes
-
How to Choose the Best Fibrous Casing Suppliers for Your Needs?
-
Best Meat Nets for Perfect Grilling Results in Your Backyard
-
10 Best Tips for Using Cooking Meat Netting to Enhance Flavor and Presentation